Post
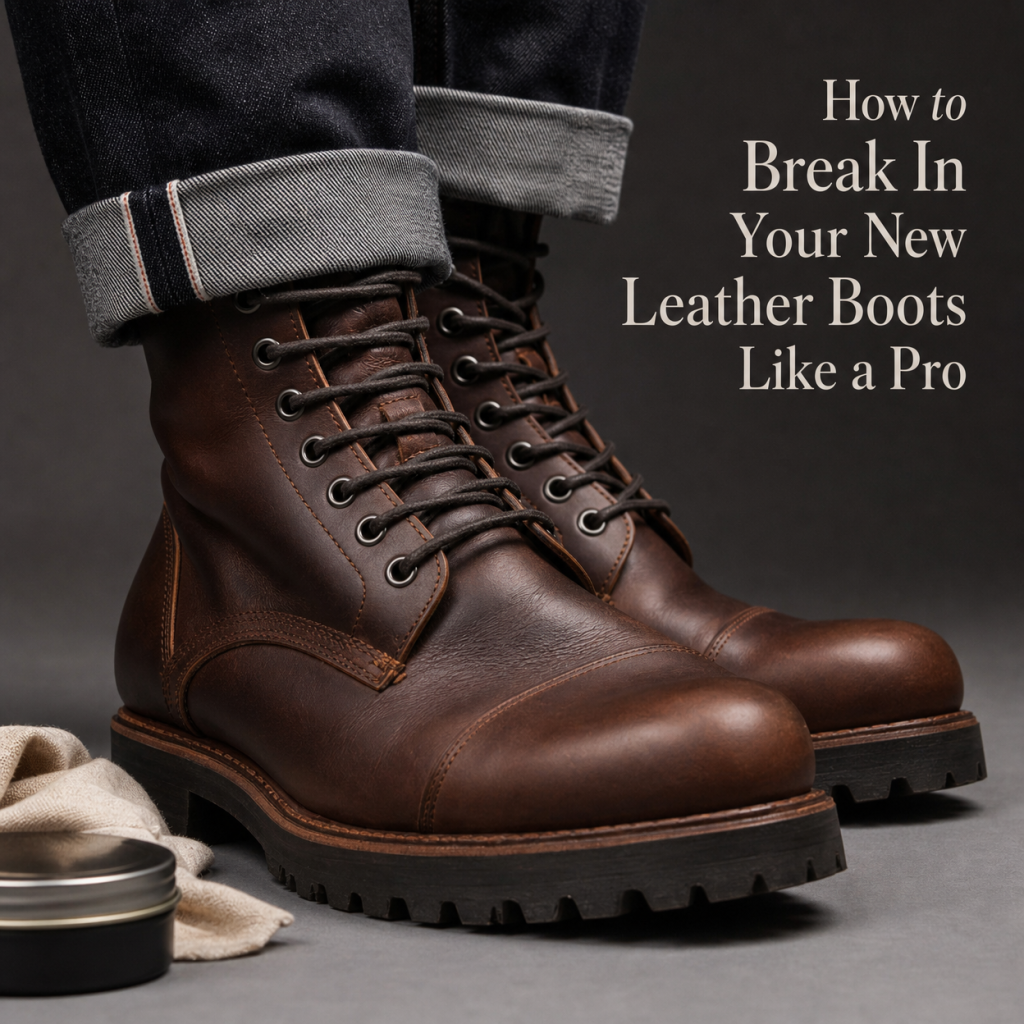
How to Break In Your New Leather Boots Like a Pro
May
How to Break In Your New Leather Boots Like a Pro
Breaking in leather boots is one of the most important stages in owning quality footwear. New boots often feel stiff, tight, or even slightly uncomfortable at first—but that’s completely normal. High-quality leather is dense and structured when new, and it needs time, heat, and movement to adapt to your feet.
The goal of the break-in process is not to “force” the boots into comfort, but to gradually guide them into shaping naturally around your foot. Done correctly, this process transforms stiff new boots into soft, supportive, custom-feeling footwear that improves with every wear.
Understanding the Break-In Process
Leather is a natural material made of tightly packed fibers. When boots are new, those fibers are firm and resistant to bending. As you walk, your body heat, moisture, and movement slowly relax the fibers, allowing the leather to:
- Bend more easily
- Adapt to foot shape
- Reduce pressure points
- Improve flexibility over time
This process cannot be rushed completely, but it can be managed intelligently to reduce discomfort and prevent injury.
Step 1: Start Slowly and Gradually
One of the biggest mistakes people make is wearing new boots for long hours immediately. This often leads to blisters, sore spots, and unnecessary frustration.
Smart Starting Routine
For the first few days:
- Wear boots for 1–2 hours at a time
- Use them indoors or in low-activity environments
- Avoid long walks or extended standing
This short exposure allows leather to begin softening without overwhelming your feet.
Gradual Increase Plan
After the initial phase:
- Increase wear time slowly each day
- Add short outdoor walks
- Introduce light daily activities
Within 1–2 weeks, most boots begin feeling noticeably more comfortable.
Step 2: Wear the Right Socks
Socks play a much bigger role in break-in comfort than most people realize.
Best Sock Choices
- Thick wool socks
- Merino wool blends
- Cushioned hiking socks
These materials help:
- Reduce friction between skin and leather
- Absorb moisture
- Provide extra padding in pressure zones
Why Thin Socks Are a Bad Idea Early On
Thin socks can increase:
- Blister risk
- Hot spots
- Heel rubbing
- Toe pressure discomfort
Once boots are fully broken in, you can switch to thinner socks if desired.
Step 3: Condition the Leather
Conditioning helps soften new leather and speeds up the adjustment process.
What Conditioning Does During Break-In
A good conditioner:
- Loosens stiff leather fibers
- Adds flexibility
- Prevents early cracking
- Reduces initial stiffness
How to Apply Properly
Before or early in the break-in process:
- Apply a small amount of conditioner
- Spread evenly using a soft cloth
- Focus on flex points (toe, ankle area)
- Let it absorb for several hours
Avoid over-conditioning—too much oil can make leather overly soft and reduce structural support.
Step 4: Use Controlled Movement
Movement is what actually shapes the boot to your foot.
Safe Break-In Activities
- Walking around the house
- Short outdoor walks
- Light daily errands
- Gentle stair climbing
Each step helps the leather flex and mold gradually.
What to Avoid Early On
- Long hikes
- Full work shifts
- Extended standing periods
- High-impact activities
These increase risk of painful blisters before the boots are ready.
Step 5: Focus on Pressure Points
Every foot is different, so break-in discomfort usually appears in specific areas.
Common Pressure Zones
- Heel
- Toe box
- Ankle edges
- Instep (top of foot)
How to Manage Discomfort
- Adjust lacing tension
- Use thicker socks in problem areas
- Take breaks when pressure builds
- Apply leather conditioner to stiff zones
If pain is sharp or persistent, the issue may be sizing—not break-in.
Step 6: Adjust Lacing Technique
Lacing can significantly improve early comfort.
Smart Lacing Adjustments
- Loosen tight areas around pressure points
- Keep heel secure to prevent slipping
- Use “window lacing” if instep pressure is high
- Re-tighten gradually as leather softens
Proper lacing reduces unnecessary strain while the boot is still rigid.
Step 7: Use Natural Heat and Wear Time
Body heat is one of the most effective tools for breaking in leather.
As you wear boots:
- Foot warmth softens leather
- Moisture helps fibers relax
- Movement shapes material over time
This natural process is why consistent wear is more effective than any artificial method.
Step 8: Give Boots Rest Time
Rest periods are just as important as wearing time.
Why Rest Matters
Leather needs time to:
- Dry naturally from sweat
- Reset shape slightly
- Avoid overstretching
Wearing boots every single day during break-in can slow the process and increase discomfort.
Ideal Rotation Strategy
- Wear 1 day
- Rest 1 day
- Repeat during early break-in phase
This balance helps both comfort and durability.
Step 9: Know the Difference Between Break-In Pain and Bad Fit
Not all discomfort is normal.
Normal Break-In Sensations
- Mild tightness
- Slight stiffness
- Temporary pressure points
- Gradual softening over time
Warning Signs of Poor Fit
- Sharp or stabbing pain
- Numbness in toes
- Severe heel slipping
- Persistent discomfort after multiple wears
If these issues continue beyond 2–3 weeks, the problem may be sizing—not break-in.
Step 10: Typical Break-In Timeline
The break-in period depends on leather quality, construction, and usage frequency.
General Timeline
- Days 1–3: Stiff feel, short wear only
- Week 1: Slight softening begins
- Weeks 2–3: Noticeable comfort improvement
- Weeks 3–4: Boots start feeling natural
- After 1 month: Fully adapted to foot shape
High-quality leather boots may take longer—but they also deliver better long-term comfort.
Common Mistakes to Avoid
Many break-in problems come from avoidable errors:
- Wearing boots for too long too early
- Skipping socks or using thin socks too soon
- Forcing leather to stretch aggressively
- Ignoring pain signals
- Using excessive heat to soften leather
- Expecting instant comfort
Patience is the key difference between a smooth break-in and a painful experience.
Pro Tips for Faster, Safer Break-In
A few advanced techniques can help speed up comfort:
- Wear boots at home while doing light activity
- Flex boots gently by hand before wearing
- Use leather conditioner early but sparingly
- Walk on carpeted surfaces first for comfort
- Rotate wear time instead of forcing long sessions
These methods encourage natural shaping without damaging the leather boots.
Conclusion
Breaking in leather boots boots is a gradual process that rewards patience and consistency. New boots may feel stiff at first, but this is a normal part of high-quality leather bootsconstruction. By starting slowly, using proper socks, conditioning the leather boots, and allowing natural movement to shape the boot, you can significantly reduce discomfort and speed up adaptation.
The most important principle is simple: don’t rush the process. leather boots needs time to respond to your feet, and your feet need time to adjust to the boots. When done correctly, the result is a perfectly molded pair of boots that feel like they were made specifically for you.
A well-broken-in leather boot doesn’t just become comfortable—it becomes personal.